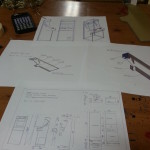
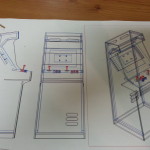
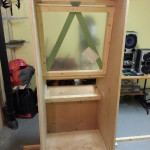
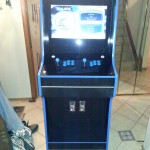
The arcade cabinet is complete! Construction was finished a couple months ago but I never got around to writing an update. See below for an outline of what was left after the first post.
Painting, T-Molding, and Plexiglass
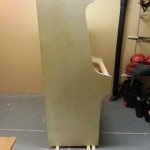
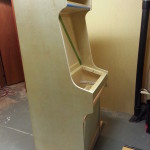
I decided to go with a blue/black theme for the color scheme. The cabinet itself was sanded and then painted with two coats of semi-gloss black paint.
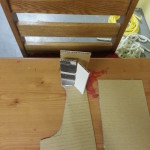
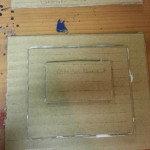
The screen bezel plexiglass was cut to size, masked and then backpainted using gloss black Tremclad spray paint for an even finish. The control panel plexiglass was cut to size, and using the template I drew I marked off the locations of the button holes and joystick holes. The control panel plexiglass was then backpainted in the same manner as the screen bezel. The marquee plexiglass was cut to size, but not backpainted so I could insert a graphic behind it.
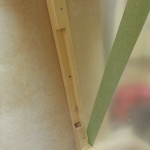
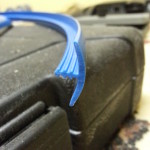
I went with blue T-molding to finish the edges of the cabinet. Using a router, a slot was drilled along all edges of the cabinet. The T-molding was lined up in the slot and gently tapped in using a rubber mallet. I was considering using wood glue to keep the T-molding in place, however the slot itself was pretty tight so a pressure-fit was more than enough.
Monitor Installation and Wiring
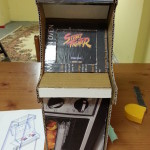
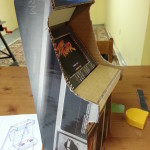
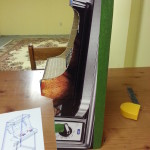
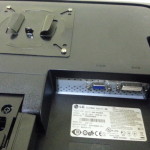
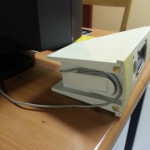
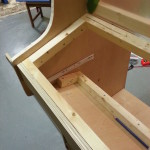
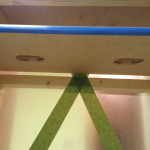
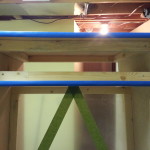
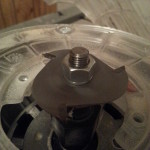
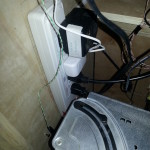
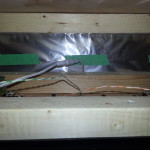
I had originally ordered a VESA mounting bracket for the monitor in the cabinet – however due to space constraints the design had to be altered to remove the piece of wood that would act as the backing bracket for the screen. Because of this I had to pressure-fit the monitor in place, and secure it from falling out by building a twine ‘harness’. You can see what I mean in the following pictures.
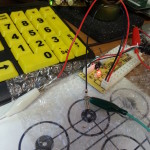
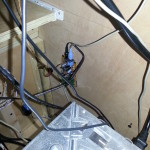
The cabinet interior is surprisingly small! Again because of this the wiring turned into a bit of a rats’ nest. I decided to use the same twine ‘harness’ to lift all of the cables off of the floor of the cabinet. This was to prevent interference with the coin mechanisms and coin collection bucket.
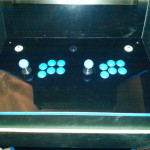
First task was to install the buttons and joysticks. This was fairly simple to do as the buttons are just pressure-fit into the control panel. The joysticks were rear-mounted to the control panel with 1/2″ screws. Each of the buttons and both joysticks were then wired up to the USB controller board.
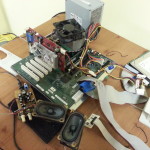
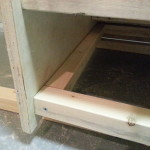
The computer was mounted to the bottom of the cabinet floor and secured in place with screws through the bottom of the chassis. I had to drill a hole through the aluminum case to access the power supply for the coin mechanisms.
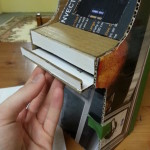
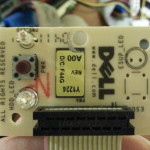
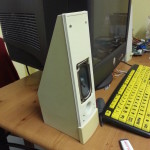
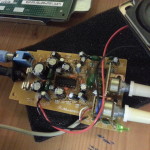
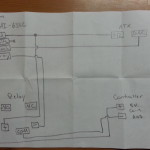
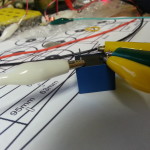
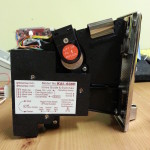
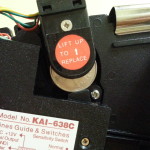
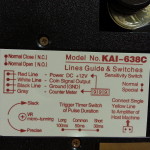
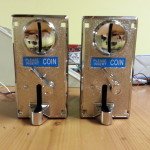
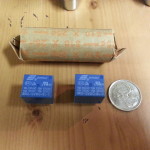
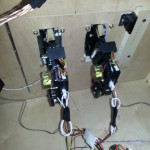
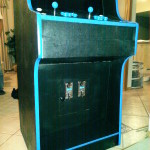
The coin mechanisms were installed in the front access door, and wired up to the computer’s ATX power supply +12V line, the 12V relay, and the USB controller boards.
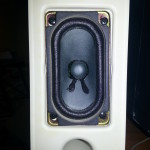
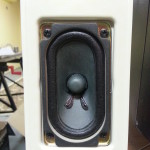
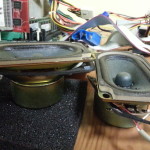
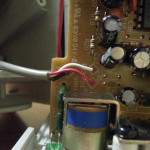
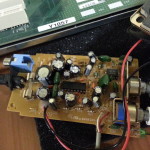
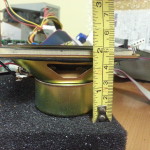
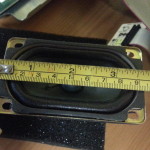
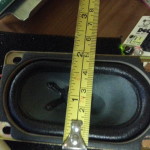
The amplifier board was mounted to the interior side of the cabinet, wires were ran to both speakers in the top, and power connected to the board. It was mounted face down for easy access if I want to turn the volume up or down.
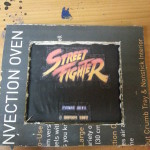
The marquee light was installed in the top of the cabinet. I went with a LED strip light ran around the interior edges of the marquee space. I added a reflector to the back of the marquee to give even lighting to the marquee graphic.
The power button was installed below the marquee space, and a wire ran down the cabinet interior to the PC motherboard. This allows me to turn on the cabinet from the outside, as well as turn on all the components at once using the smart power strip I installed inside.

Power On!
After wiring everything up, it’s time to power it on! I had setup the operating system, MAME emulator and frontend software a couple months in advance so everything would be ready to go.
Here are the details:
- Windows XP SP3
- Disabled explorer shell, boots directly to frontend
- Disabled XP theme for performance
- Disabled network adapters
- Custom boot screen when the cabinet is starting
- GroovyMAME V0.151 (Multiple Arcade Machine Emulator)
- This is what actually emulates the arcade games, allowing them to be played on a PC
- Anti-nagscreen support
- Hi-score support
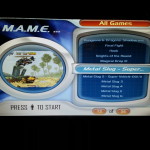
- MaLa Frontend V1.74
- Provides a simple UI for selecting games

Conclusion
This has been an amazing project to work on. Two years in the making and it’s finally complete! In the past few months since its’ completion, I’ve had dozens of people play it and they’ve all had a blast. It’s been a really great addition to the living room!